Creating a Job in ASAP
This guide outlines the process for creating a job in ASAP, following customer creation and consent capture.
Prerequisites
Before creating a job, ensure that:
- A customer has been created
- Customer consent has been captured for this customer
1. Create a New Job
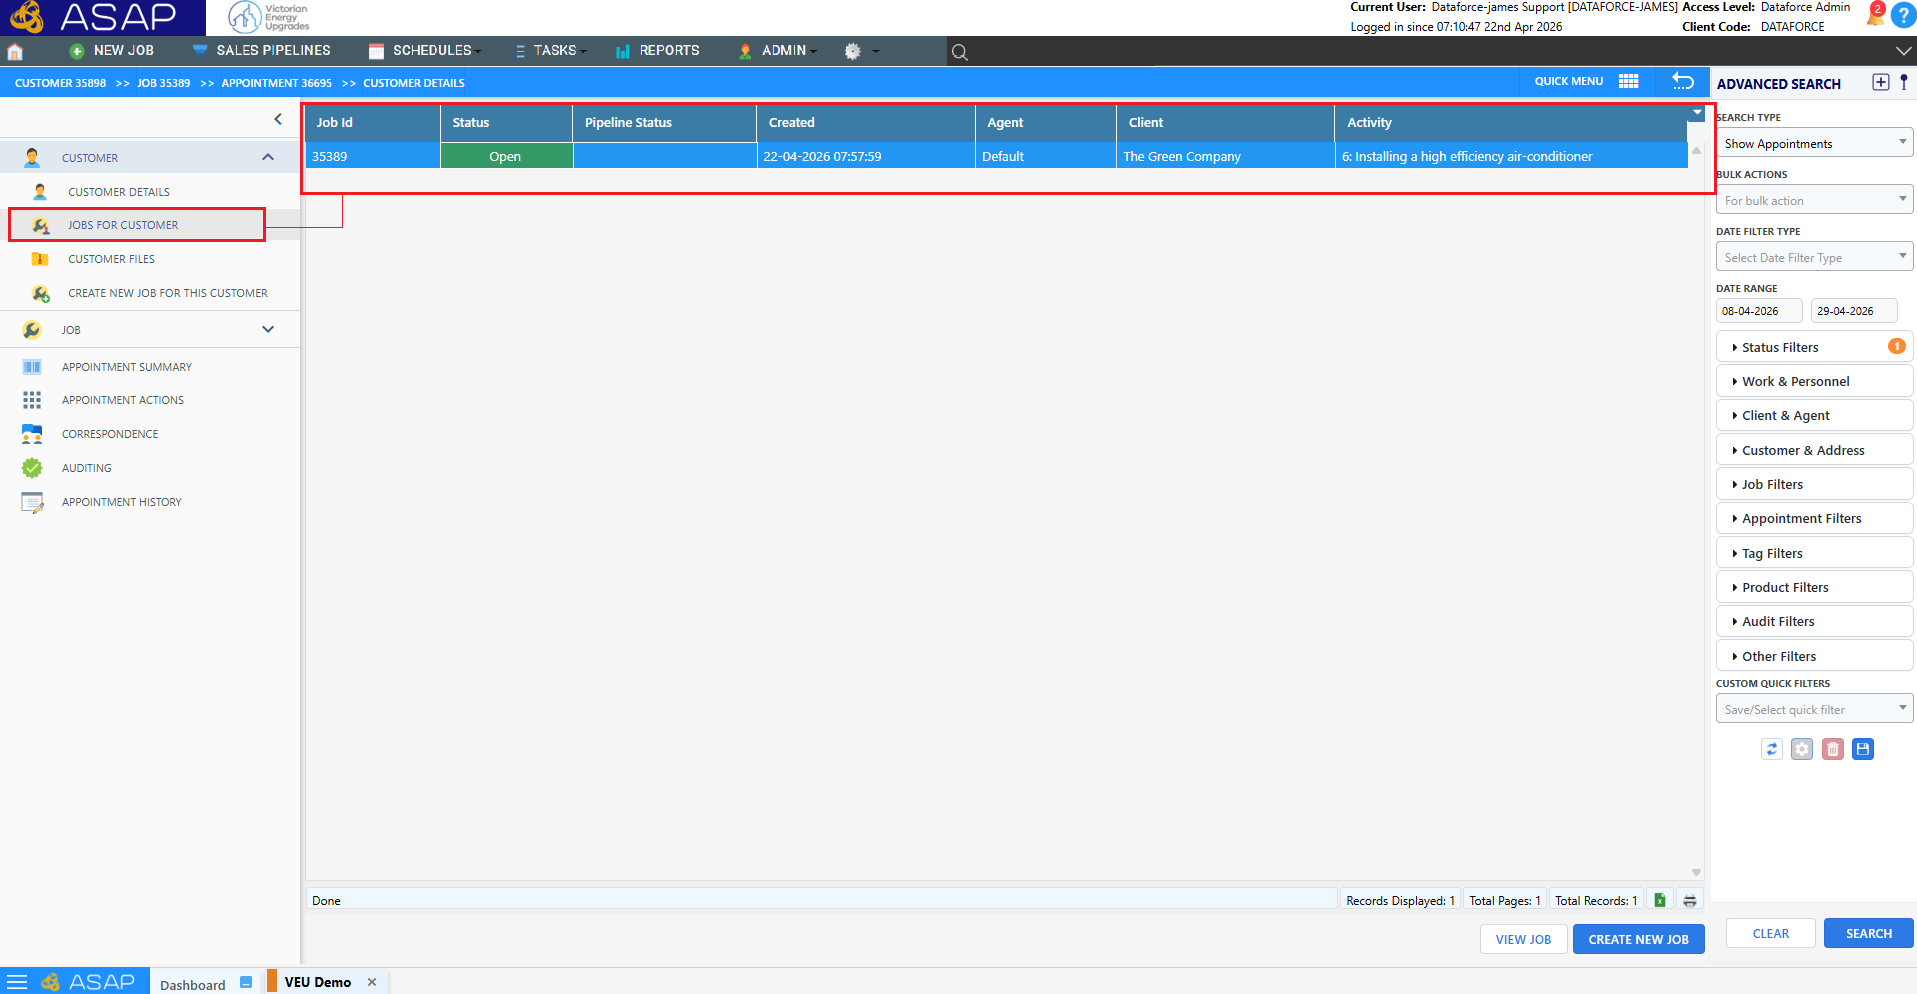
- Navigate to the Customer Details screen
- Locate the Jobs table/list
- Click “Create New Job”

2. Complete Job Details
A page will now be displayed showing all relevant customer and job questions. These questions can create a desktop quote and choose the work type of the first appointment.
- Fill in the required job questions and details
After the mandatory questions have been completed, select the SAVE AND CONTINUE button on the bottom right of the screen.
- Ensure all relevant information is completed accurately
If, during the quotation process, the customer requests a stop or are no longer eligible, the job can be aborted by selecting an abort reason from the drop down menu and selecting the SAVE AND ABORT button on the bottom right.

3. Generate a Quote (Optional)
Depending on the work type configuration, you may now be presented with a quotation based on the questions answered on the previous screen.
- The quote can be:
- Emailed to the customer
- Downloaded for manual sharing or records
- To continue, you may now select one of the following:
- Create appointment and schedule it to a fieldworker
- Create appointment and add it to the waiting list (unassigned)
- Continue with the job without yet creating an appointment

4. Job Created
- Once all required details are completed, the job is created
- You can then proceed to creating appointments (covered in a separate guide)
Key Notes
- Customer creation and consent are required before creating a job
- Quotes can be generated during the job stage if needed
- Appointments are created after the job has been set up