Overview
BPAY lets customers pay invoices through their own internet banking using your biller code and a per-job Customer Reference Number (CRN). Setting up BPAY in Dataforce has two parts:
- Enable and configure the BPAY integration - so uploaded bank settlement files are accepted and validated as belonging to your biller code.
- Add the BPAY payment details to your invoice / quote templates - so every customer document shows your biller code and the job’s CRN.
Once configured, payments (and any refunds or reversals) are recorded automatically by uploading the bank’s settlement file - see BPAY File Import.
Enabling the BPAY integration
- Navigate to (Configuration icon) Integrations Integration Settings (see Integration Settings)
-
Locate the BPAY app in the list of integrations and click Configure
-
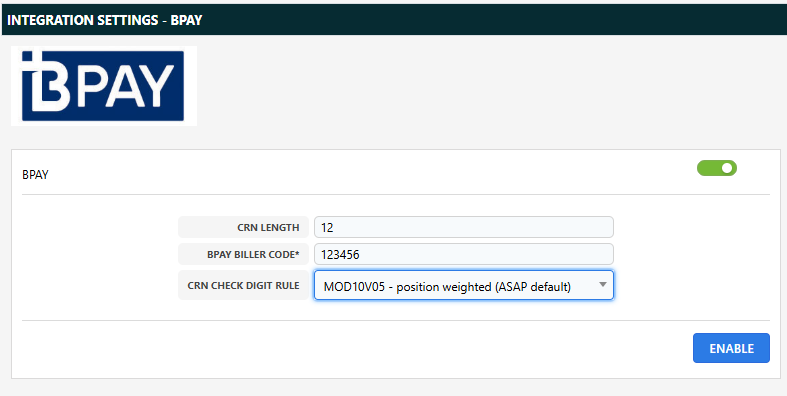
Enter your BPAY settings - including your biller code (and BPoint merchant number if you take payments through the BPoint gateway) - then enable the integration
Adding BPAY details to invoice and quote templates
For customers to pay by BPAY, their invoice or quote must display your biller code and their job’s Customer Reference Number (CRN). Dataforce generates a unique CRN for every job; it is this CRN that links each payment in the bank’s settlement file back to the correct job during import.
Mapping the CRN
- Open the Form Designer and open your invoice or quote template (see Form Designer and Mapping a Form)
-
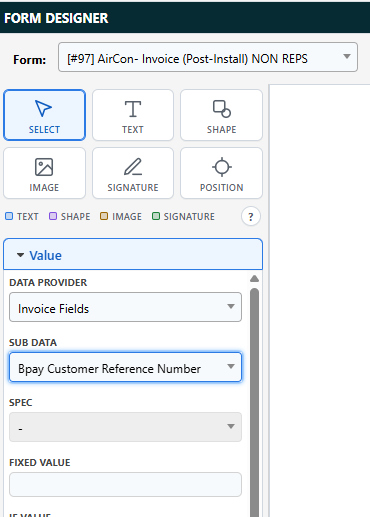
Add a field in the BPAY payment section of your template and map it to the data field Bpay Customer Reference Number
Adding the biller code
- Add your biller code to the same section of the template as static text - it is the same for every customer, so it does not need to be a mapped field
- Preview the template to confirm the BPAY payment box shows both the biller code and the customer reference number