Creating an Email Type
-
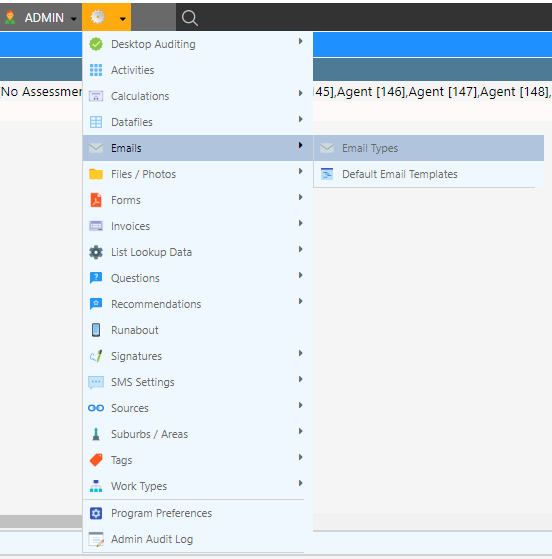
Navigate to (Configuration icon) Emails Default Email Templates
-
Enter the email type details into the fields; see below for descriptions


-
Select Add Email Type
Property Descriptions
Important: The sender email must be selected from a list of authenticated emails. To configure authenticated emails, please visit the Email Sender Documentation.
| Property | Description |
|---|---|
| Description | The name of the email type in Dataforce ASAP |
| Email Template | The template that will be used for this email type |
| Sender Email | The email address that will act as the sender If this field is red the email has not yet been verified |
| Sender Name | The name of the sender |
| Email Subject | The subject of the email, can include: • {job_id} - The job ID • {app_id} - The appointment ID For example: Customer Quote {job_id} |
| Recipient Email | A fixed email address; emails will be sent to this address instead of the customer address |
| Recipient Type | The type of recipient |
| Attach Forms | Forms to be attached to an email; see attaching a form |
| Disabled | A form of soft deletion which removes emails from future use |
| Email Type | A category for the email type |
| Work Type(s) | Work types that will utilise the email type; a form’s work type must match this |
| Question Answer(s) | Question answers that will enable the email to be sent |
| Restrict to Client | Clients who will utilise the email type |
| Agent Filter | Agents who will utilise the email type |
| Activities | Activities that require the email type |
| Disable Default Email | Do not use system-wide default email if no customer email is available |
| CC FieldWorker | Send a copy of the email to the field worker |
| CC to | Send a copy of the email to this address |
| Send On | The event that will trigger the email to be sent |
| Include Partially Completed Appointments | An option to link forms to assigned appointments Normally a form is linked once its appointment is completed |
| Attach Product Brochures | Attach relevant brochures |
📧 Automated Scheduled Email Triggers
Email Types can be configured to send automatically based on key job, appointment, payment, or scheduling events.
Immediate / Event-Based Triggers
| Trigger | Description |
|---|---|
| Not Scheduled | Email is not automatically sent |
| Appointment Completed | Sent when an appointment is marked as completed |
| Audit Completed | Sent when an audit is completed (requires audit question configuration) |
| Appointment Scheduled | Sent when an appointment is scheduled (non-Runabout jobs) |
| Appointment Created | Sent when an appointment is created (Runabout jobs only) |
| Payment Received | Sent when a payment is received |
| Deposit Received | Sent when a deposit is received |
| Payment or Deposit Received | Sent when either a payment or deposit is received |
| Added to Waiting List | Sent when a job is created on the waiting list (non-Runabout jobs) |
📅 Scheduled — Relative to Booking Date
| Trigger | Description |
|---|---|
| 1 Day Before Booking | Sent 1 day before the booking schedule date |
| 2 Days Before Booking | Sent 2 days before the booking schedule date |
| 3 Days Before Booking | Sent 3 days before the booking schedule date |
| 7 Days Before Booking | Sent 7 days before the booking schedule date |
| Day of Booking | Sent on the booking schedule date |
✅ Scheduled — After Booking Completion
(Based on actual completion date)
| Trigger | Description |
|---|---|
| Same Day After Completion | Sent on the same day the booking is completed |
| Next Day After Completion | Sent the day after booking completion |
| 2 Days After Completion | Sent 2 days after booking completion |
| 3 Days After Completion | Sent 3 days after booking completion |
| 4 Days After Completion | Sent 4 days after booking completion |
| 5 Days After Completion | Sent 5 days after booking completion |
| 6 Days After Completion | Sent 6 days after booking completion |
| 7 Days After Completion | Sent 7 days after booking completion |
| 30 Days After Completion | Sent 30 days after booking completion |