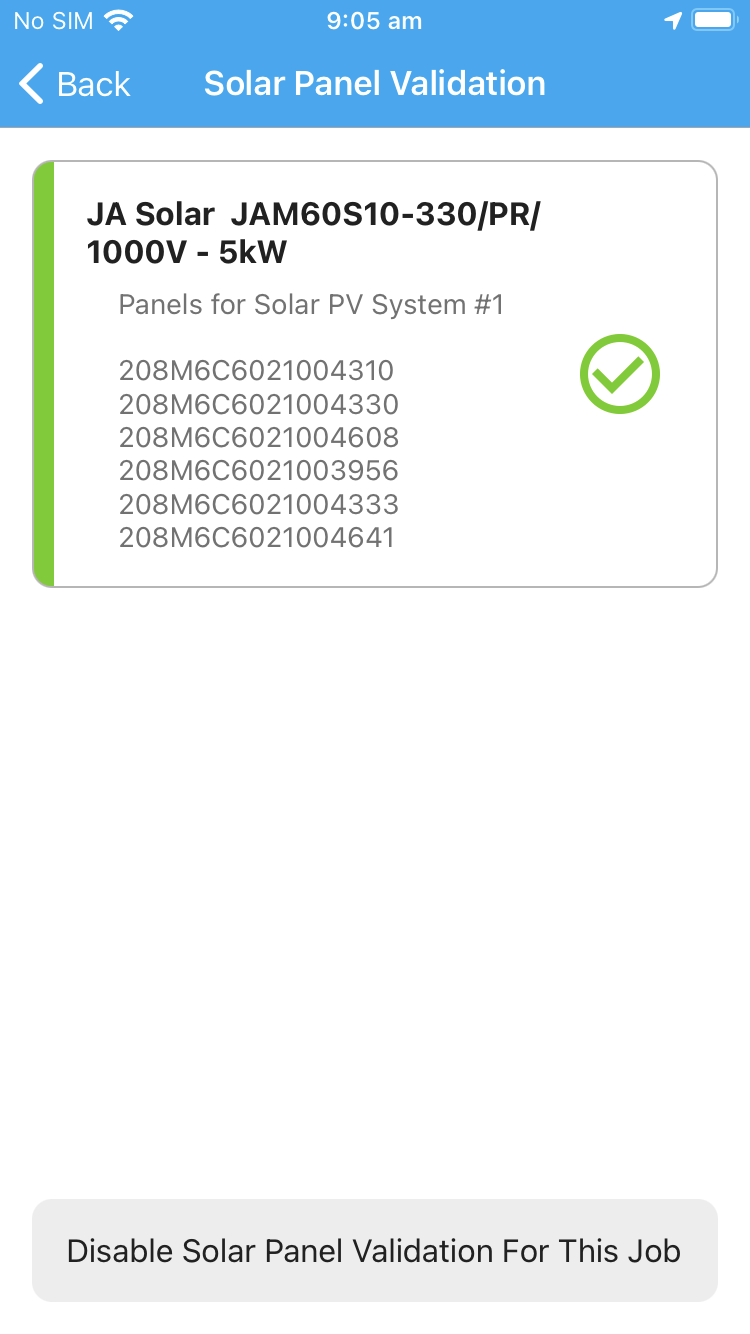
This guide provides details on how to complete a Solar Panel Validation (SPV) on Dataforce Runabout.
Completing an SPV Appointment on Dataforce Runabout
-
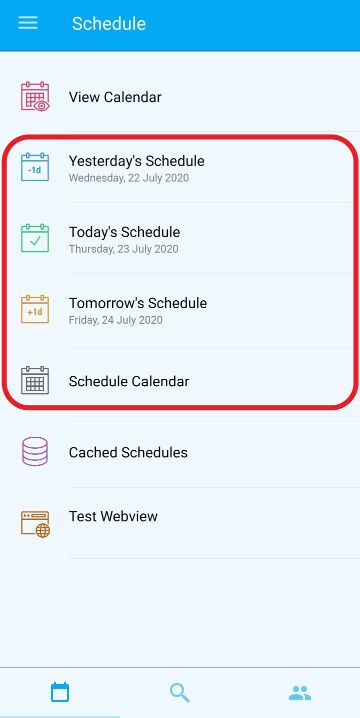
Tap “Schedule Calendar” and select the date 16th June
-
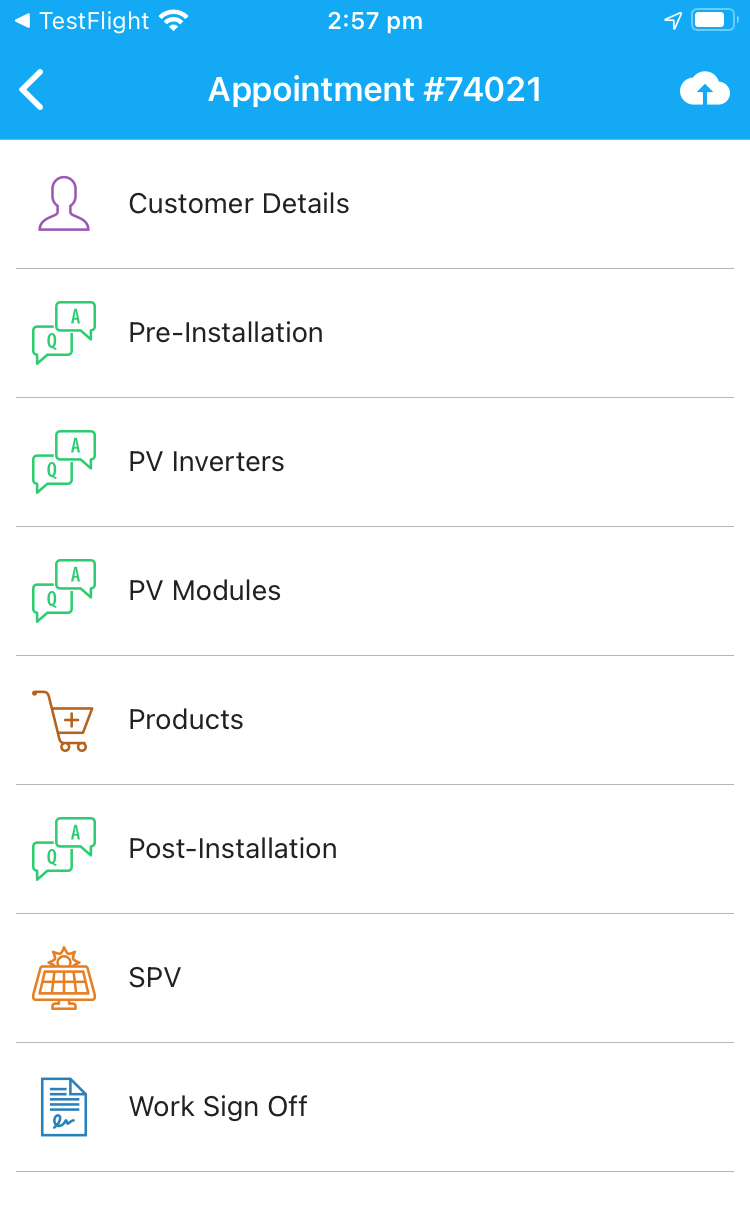
Open appointment
- Begin the SPV Appointment by tapping the tab titled “Pre Installation” and answer all questions.
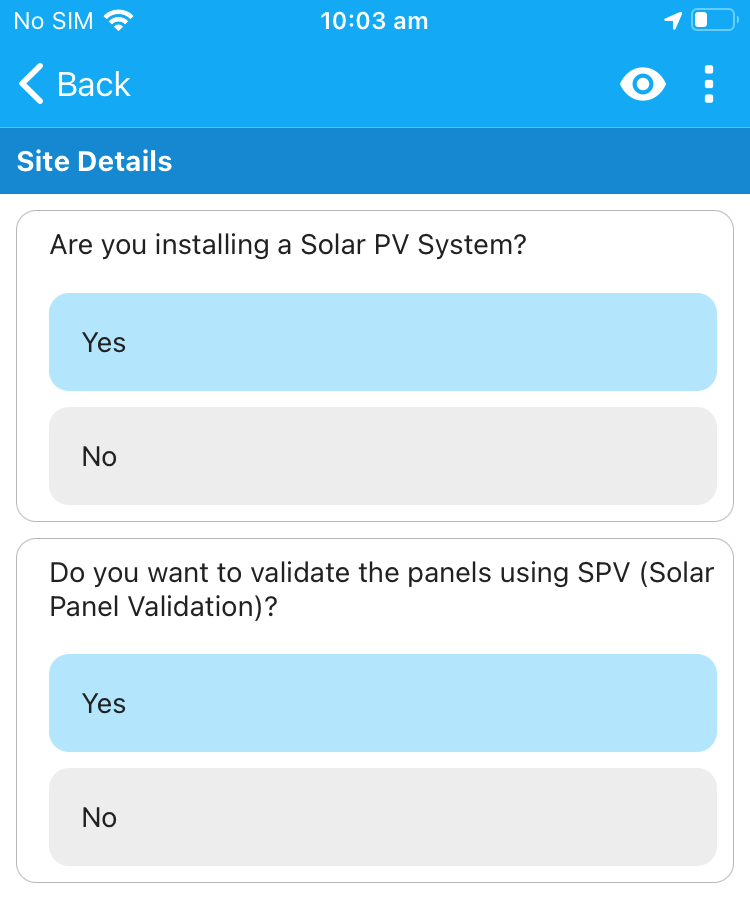
Important: The question ‘Do you want to validate the panels using SPV (Solar Panel Validation)’ needs to be answered as Yes to enabled Solar Panel Validation for the Job
-
After all Pre-installation questions are answered, tap on the back button in the top left.
-
Tap on the PV Inverters tab, then tap the Plus button at the top right of the screen (iOS), or bottom right (Android), to add a PV Inverter product.
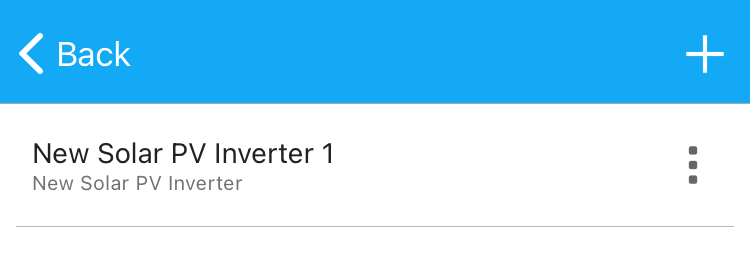
- On the next screen, please select the:
- Inverter you are wishing to install
- Enter a quantity of 1
- Enter the barcode of the product
- Click back when finished
Tip: Barcodes may be either scanned using the camera or entered manually
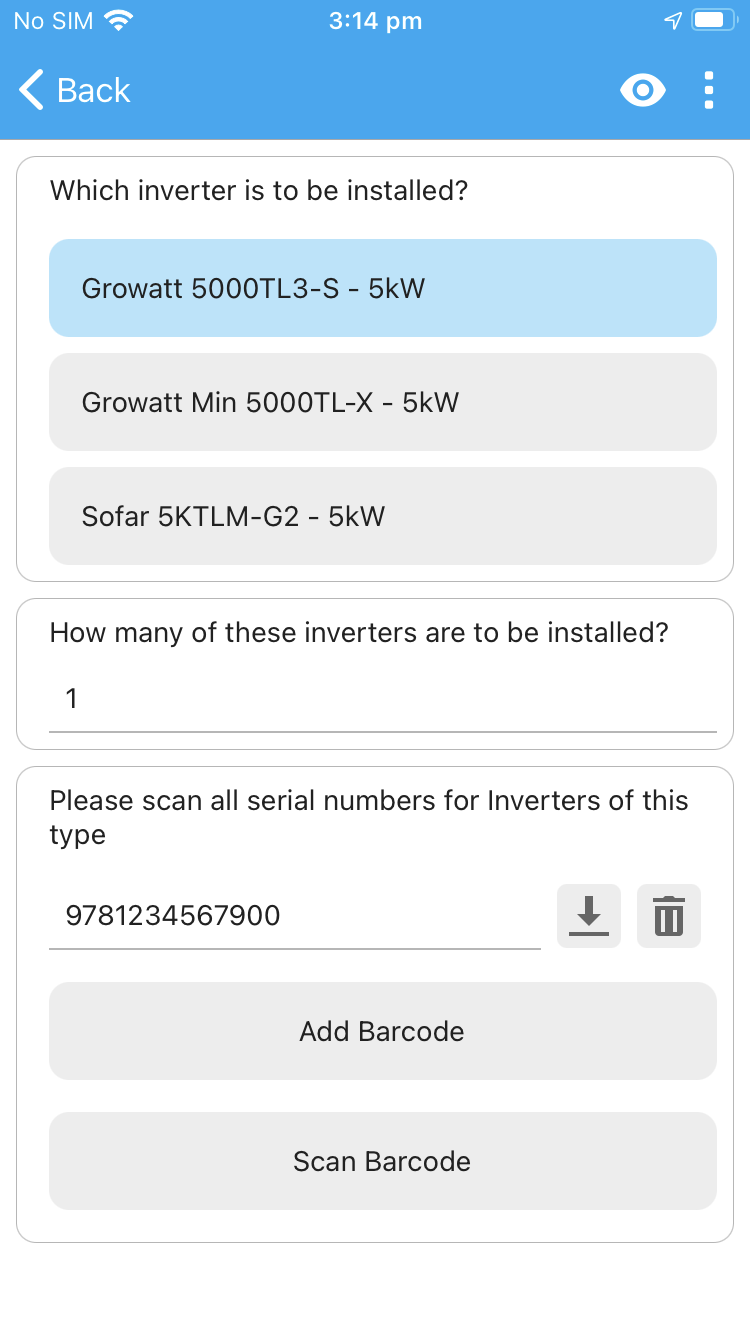
Scanning a barcode
1. Tap ‘Scan Barcode’.
2. Ensure the camera is positioned on top of the barcode and ensure there are no other barcodes visible on the camera screen.
3. Dataforce Runabout will attempt to read the barcode and if successful, the phone will vibrate. Continue this process to scan as many barcodes as specified by the quantity question above
1. Tap ‘Scan Barcode’.
2. Ensure the camera is positioned on top of the barcode and ensure there are no other barcodes visible on the camera screen.
3. Dataforce Runabout will attempt to read the barcode and if successful, the phone will vibrate. Continue this process to scan as many barcodes as specified by the quantity question above
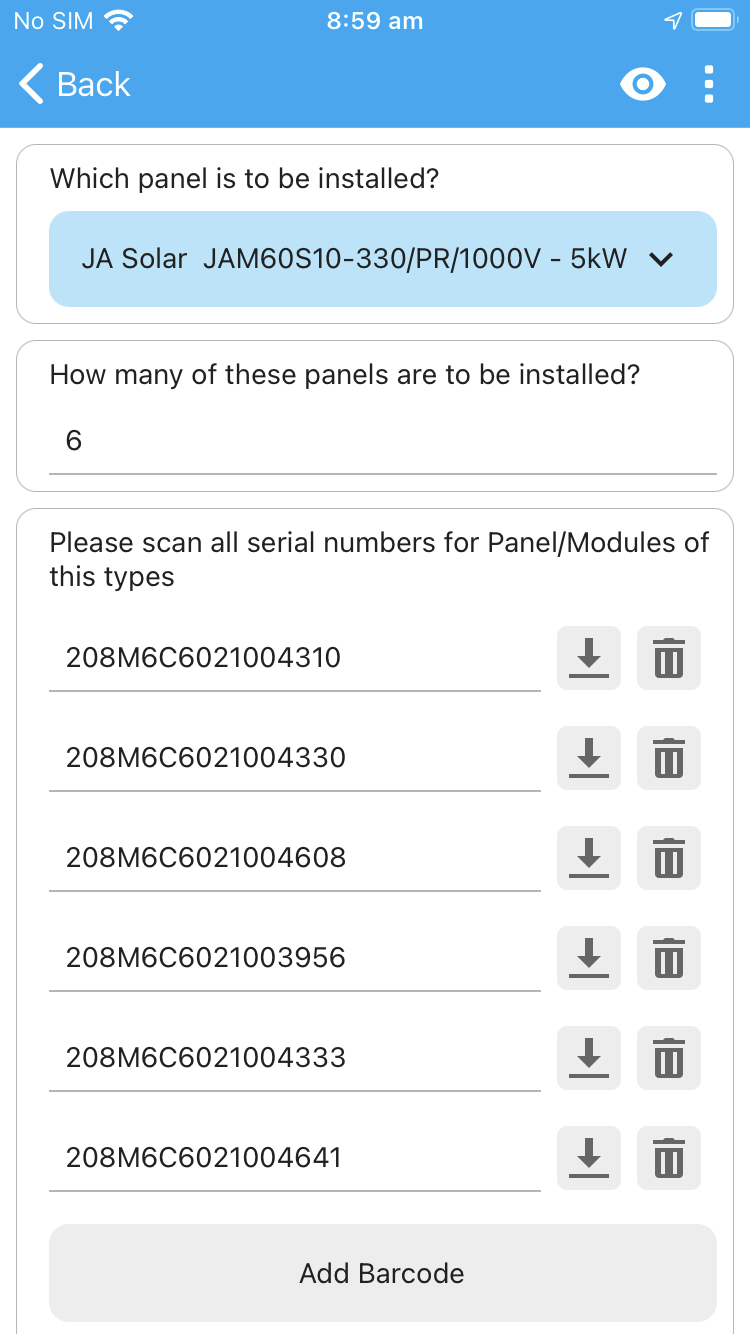
Note: If the device is unable to read the barcode, you will have to type it in manually
- Tap on the PV Module tab and tap the Plus icon at the top right of the screen (iOS), or bottom right (Android).
- On the next screen:
- Select the Panel product “JA SOLAR JAM60S10-330/PR/1000V - 5kW”. (Supplied serial numbers are valid for this product only)
- Enter a Quantity of 4
- Enter the barcode of the products using the Scan Barcode button with the panel barcodes provided below.
Tip: If barcodes will not scan, try printing them first
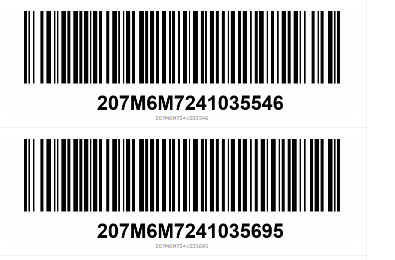
- Once completed, tap the back button twice to get back to the appointment.
- Tab the “Post Installation” tab and complete all mandatory questions
Important: Please ensure that all other tabs above are completed. If the tab is incomplete, there will be an orange exclamation mark on the right side of the tab.
- Open the “Solar Panel Validation” tab and check the panels and barcodes which you have entered are correct.
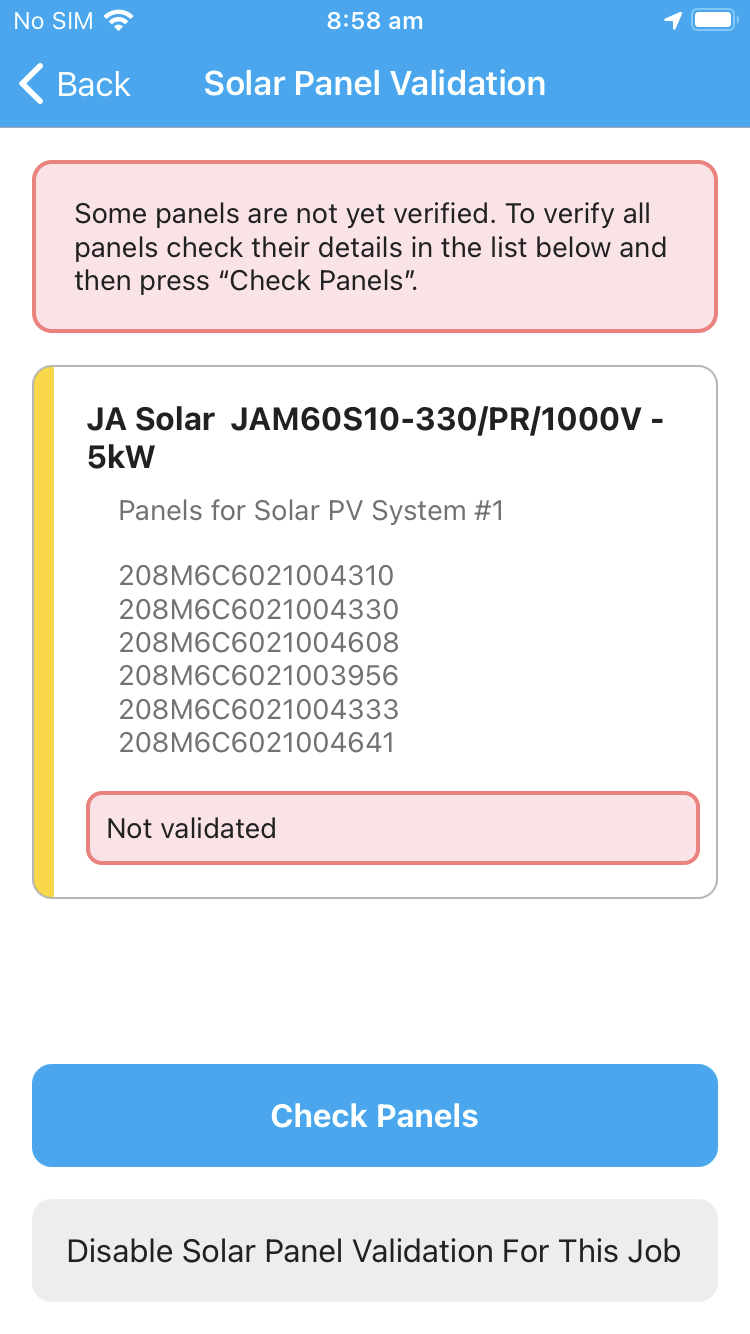
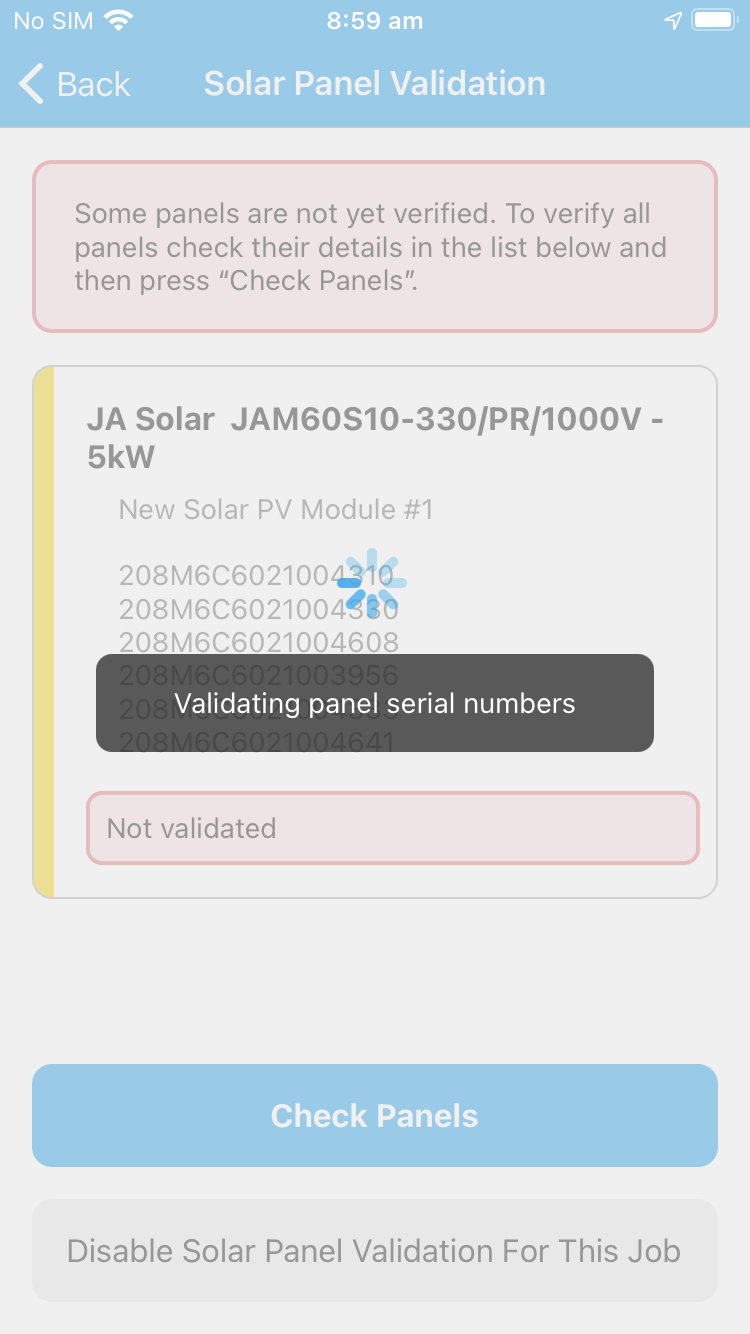
- Tap on “Check Panels” button. Panel verification will take a few seconds.
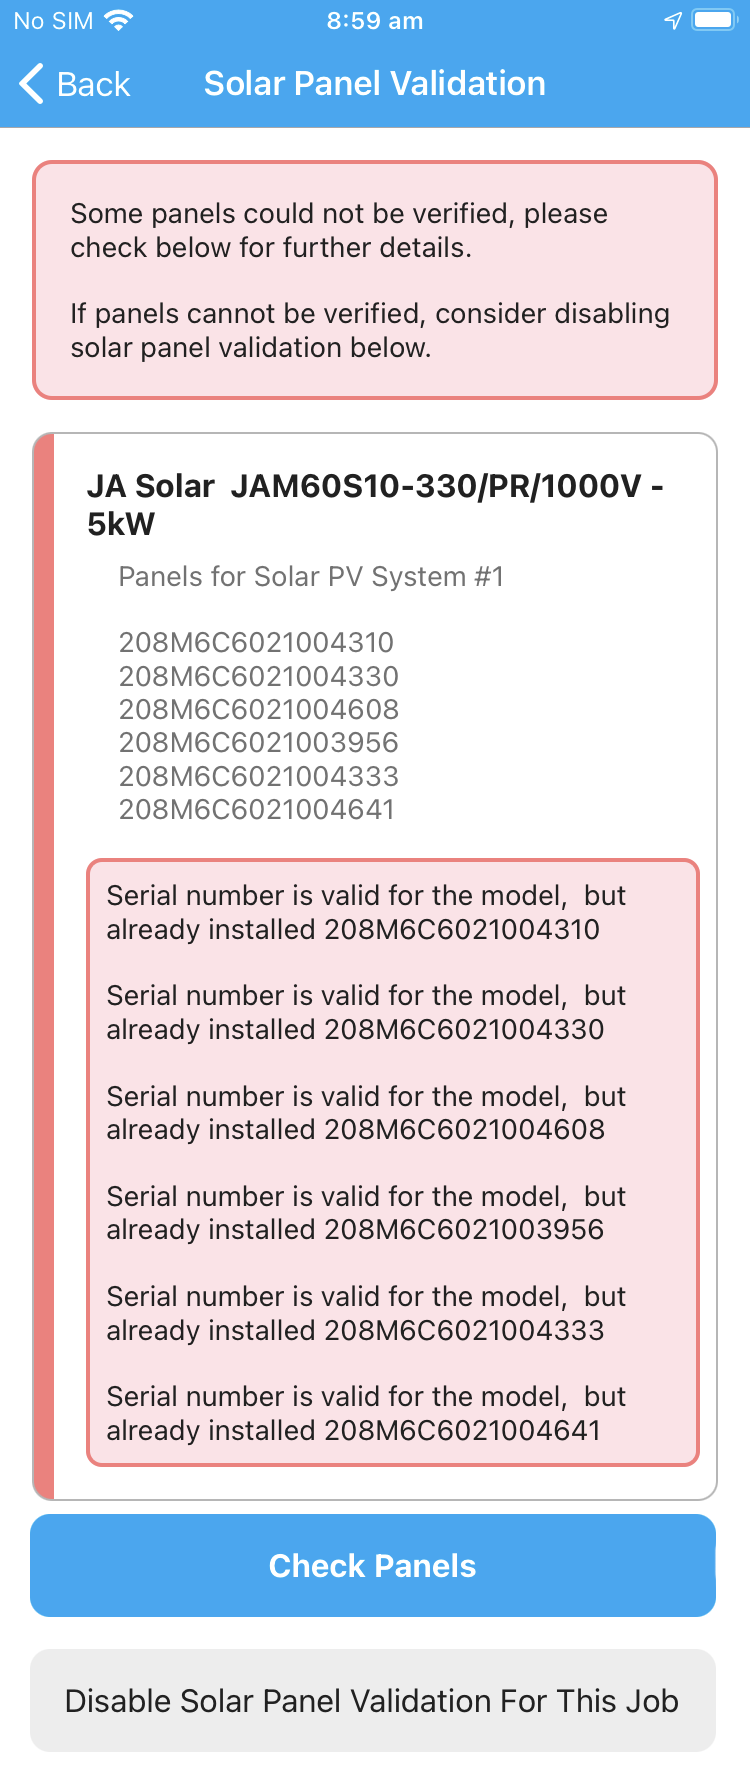
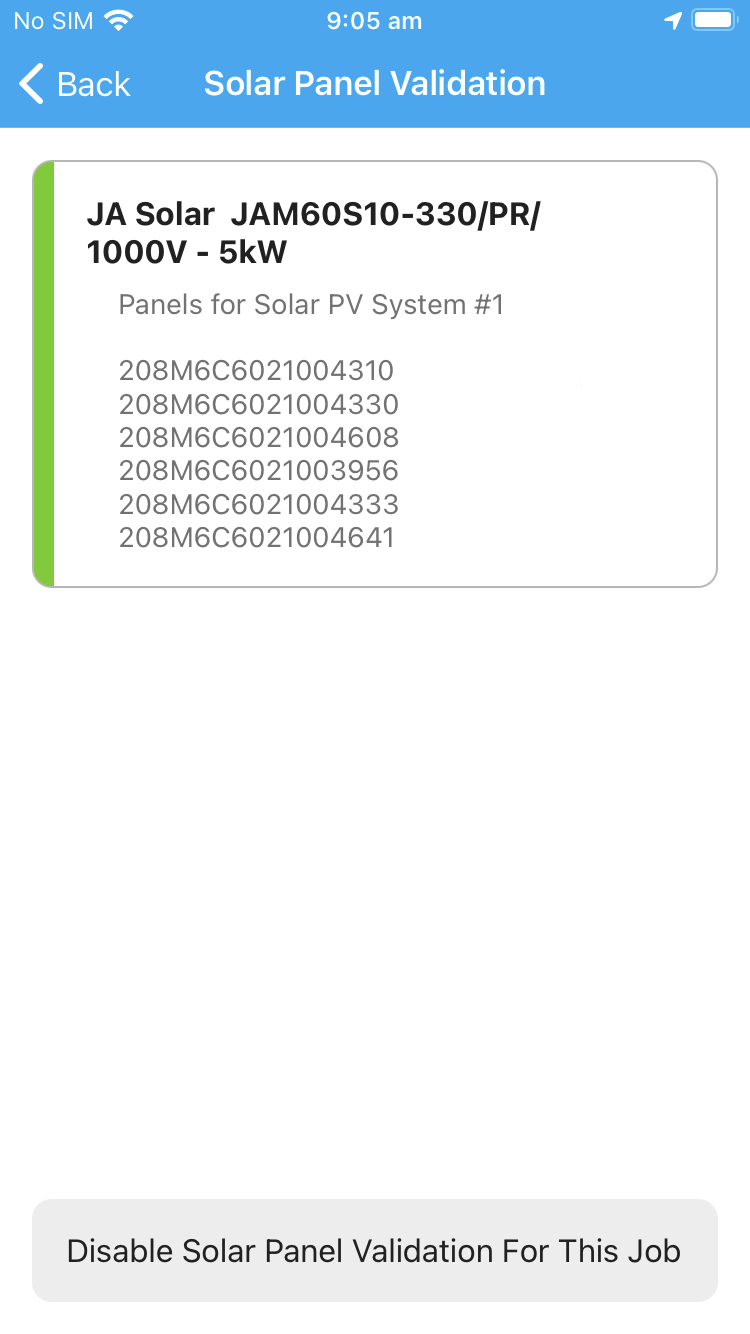
- Once ALL panels are validated, tap the “work sign off” tab. You will be prompted to sync the appointment. Tap ‘Synchonise Now’
- A signature will be required to be taken from the customer and the field worker.
- Tap the Pen Icon at top right of the screen and take the Customers Signature on the left side, and the Field Workers Signature on the right side.
- After all tabs are completed, Tap the Cloud Icon with an Arrow pointing up at the top right of the screen to Submit the job.
- After the appointment has finished syncing, tap into the “Solar Panel Validation” tab to see status of the “Installer Verification”. The panels will display a green tick if installer verification was successful.